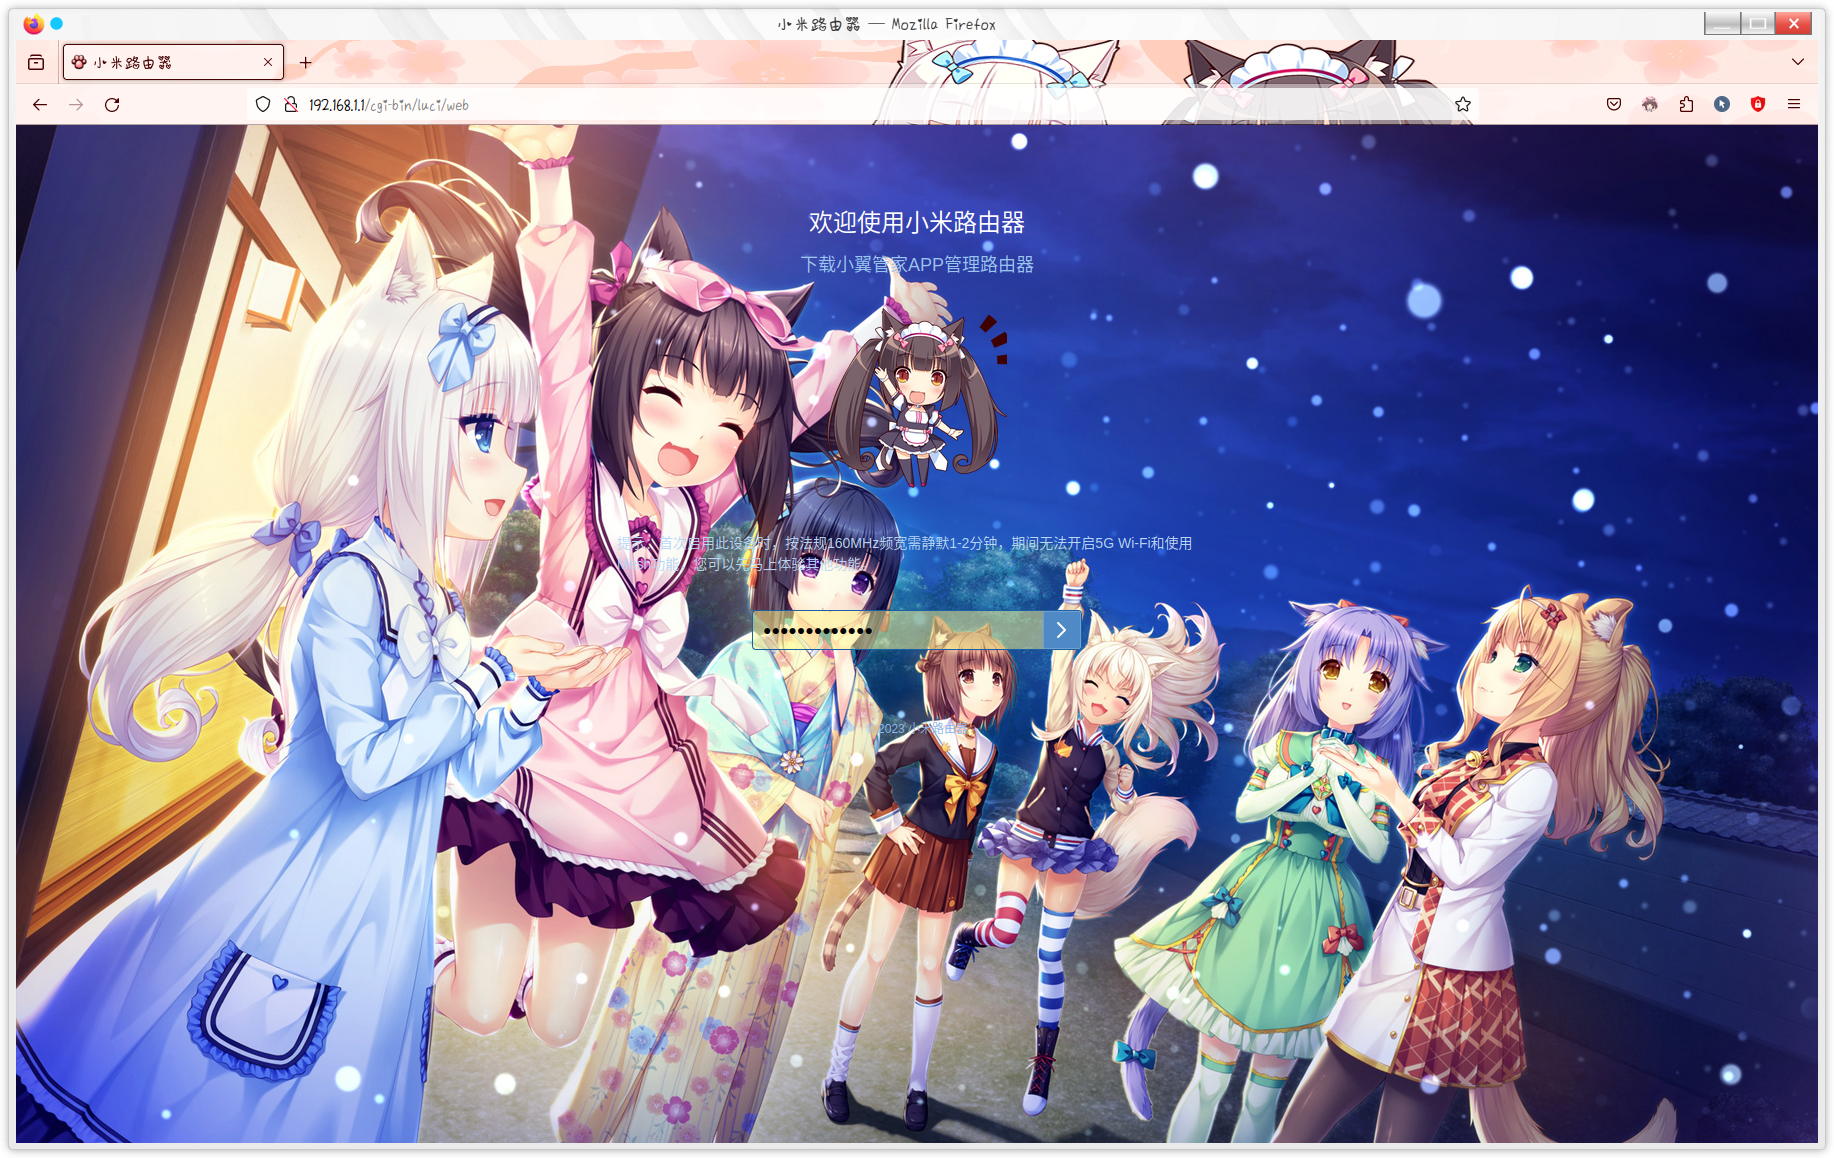
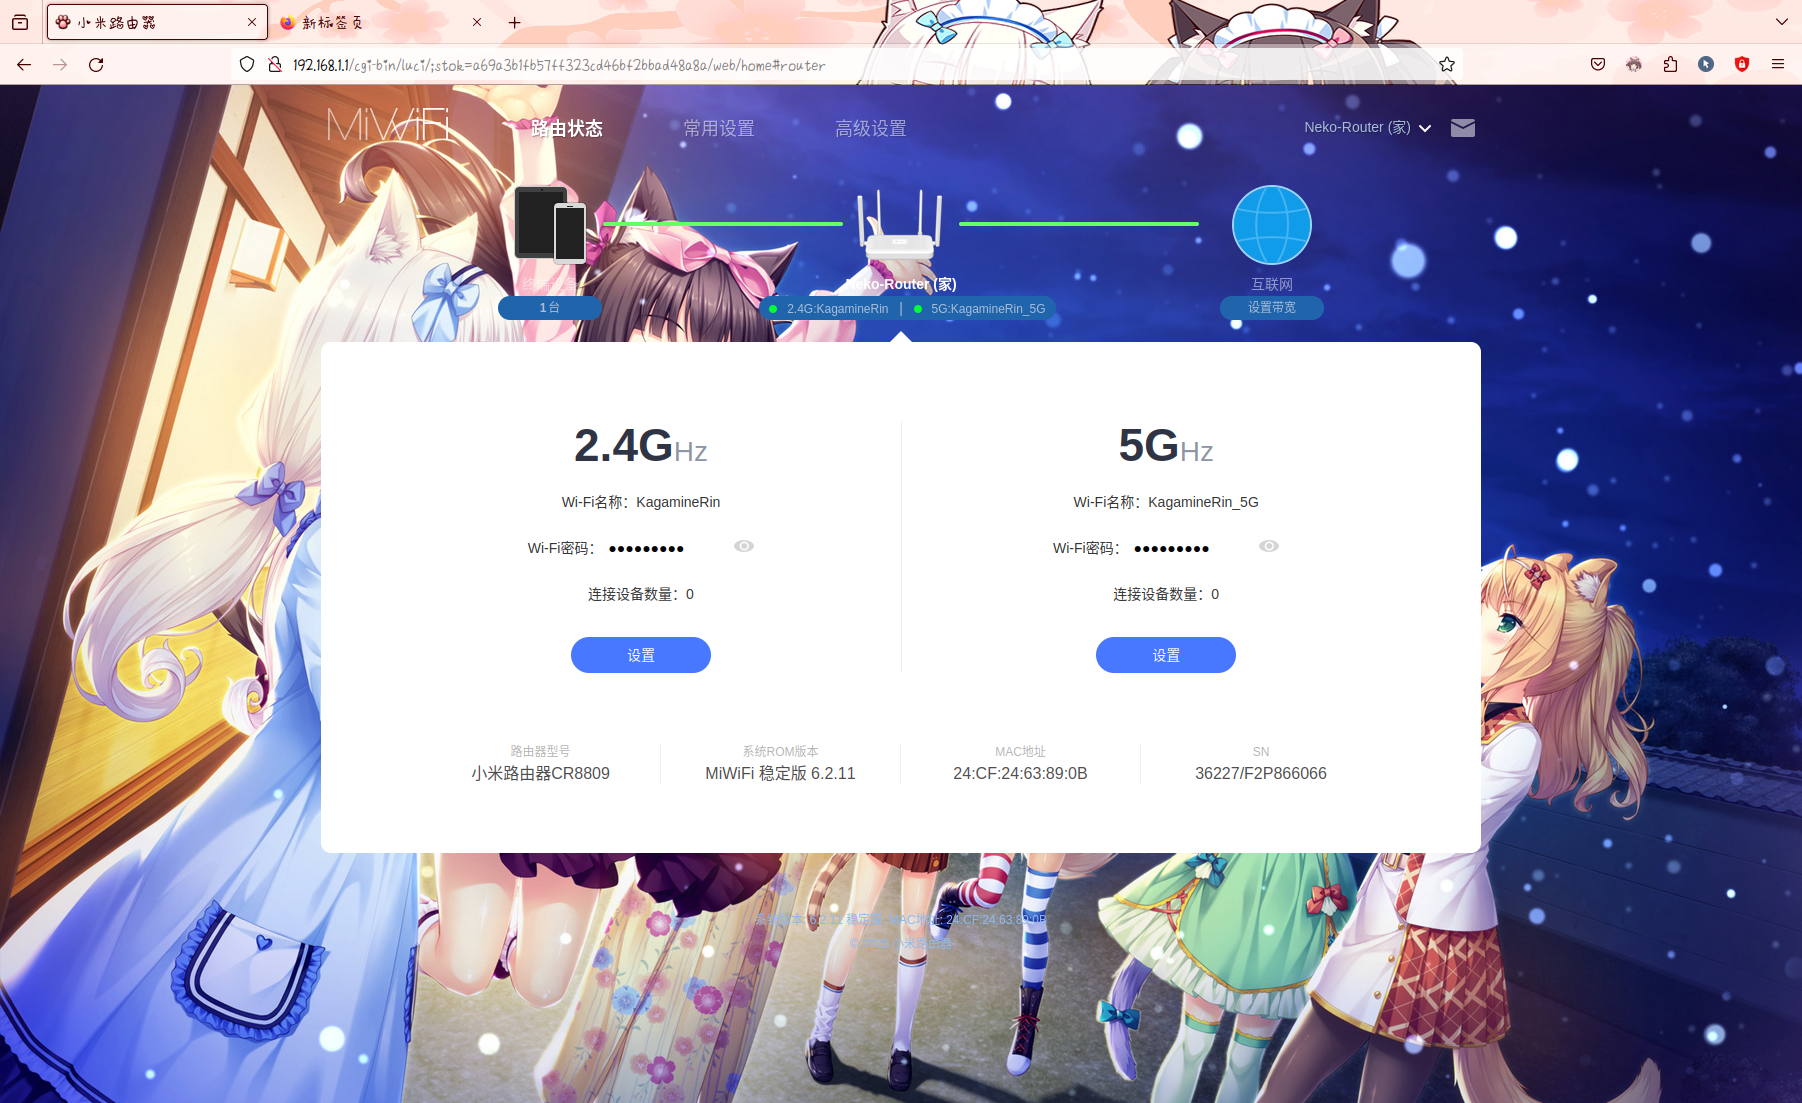
萌化小米路由器的webUI管理界面
需要的工具:
小米路由器ssh开启工具:
xmir-patcher
也可以从github下载:
git clone https://github.com/openwrt-xiaomi/xmir-patcher开启路由器ssh
进入工具目录,执行run.sh
./run.sh
Looking in indexes: https://pypi.mirrors.ustc.edu.cn/simple/
Ignoring ssh2-python312: markers 'python_version >= "3.12"' don't match your environment
Requirement already satisfied: charset_normalizer in ./venv/lib/python3.10/site-packages (from -r requirements.txt (line 1)) (3.3.2)
Requirement already satisfied: idna in ./venv/lib/python3.10/site-packages (from -r requirements.txt (line 2)) (3.7)
Requirement already satisfied: urllib3 in ./venv/lib/python3.10/site-packages (from -r requirements.txt (line 3)) (2.2.2)
Requirement already satisfied: certifi in ./venv/lib/python3.10/site-packages (from -r requirements.txt (line 4)) (2024.6.2)
Requirement already satisfied: requests in ./venv/lib/python3.10/site-packages (from -r requirements.txt (line 5)) (2.32.3)
Requirement already satisfied: pyftpdlib in ./venv/lib/python3.10/site-packages (from -r requirements.txt (line 6)) (1.5.10)
Requirement already satisfied: ssh2-python>=1.0.0 in ./venv/lib/python3.10/site-packages (from -r requirements.txt (line 7)) (1.0.0)

[notice] A new release of pip available: 22.3.1 -> 24.1.1
[notice] To update, run: pip install --upgrade pip

==========================================================

Xiaomi MiR Patcher


 1 - Set IP-address (current value: 192.168.31.1)
 2 - Connect to device (install exploit)
 3 - Read full device info
 4 - Create full backup
 5 - Install EN/RU languages
 6 - Install Breed bootloader
 7 - Install firmware (from directory "firmware")
 8 - {{{ Other functions }}}
 9 - [[ Reboot device ]]
 0 - Exit

Select: 先选择1,设置路由器的IP地址,例如192.168.1.1
然后选择2,进行ssh开启操作,需要输入管理界面的密码,等待两分钟左右即可完成,默认的用户名和密码都是root建议尽快更换密码,使用passwd命令更换密码
注意,如果出现no matching host key type found. Their offer: ssh-rsa报错,请使用:
ssh -oHostKeyAlgorithms=+ssh-ras root@192.168.31.1下载luci网页资源文件进行魔改
确定相关资源位置,右键管理界面那个丑得批爆的二维码图标,在新标签页打开图像,就可以看到文件url,例如:http://192.168.1.1/xiaoqiang/web/img/dx_ewm.png。
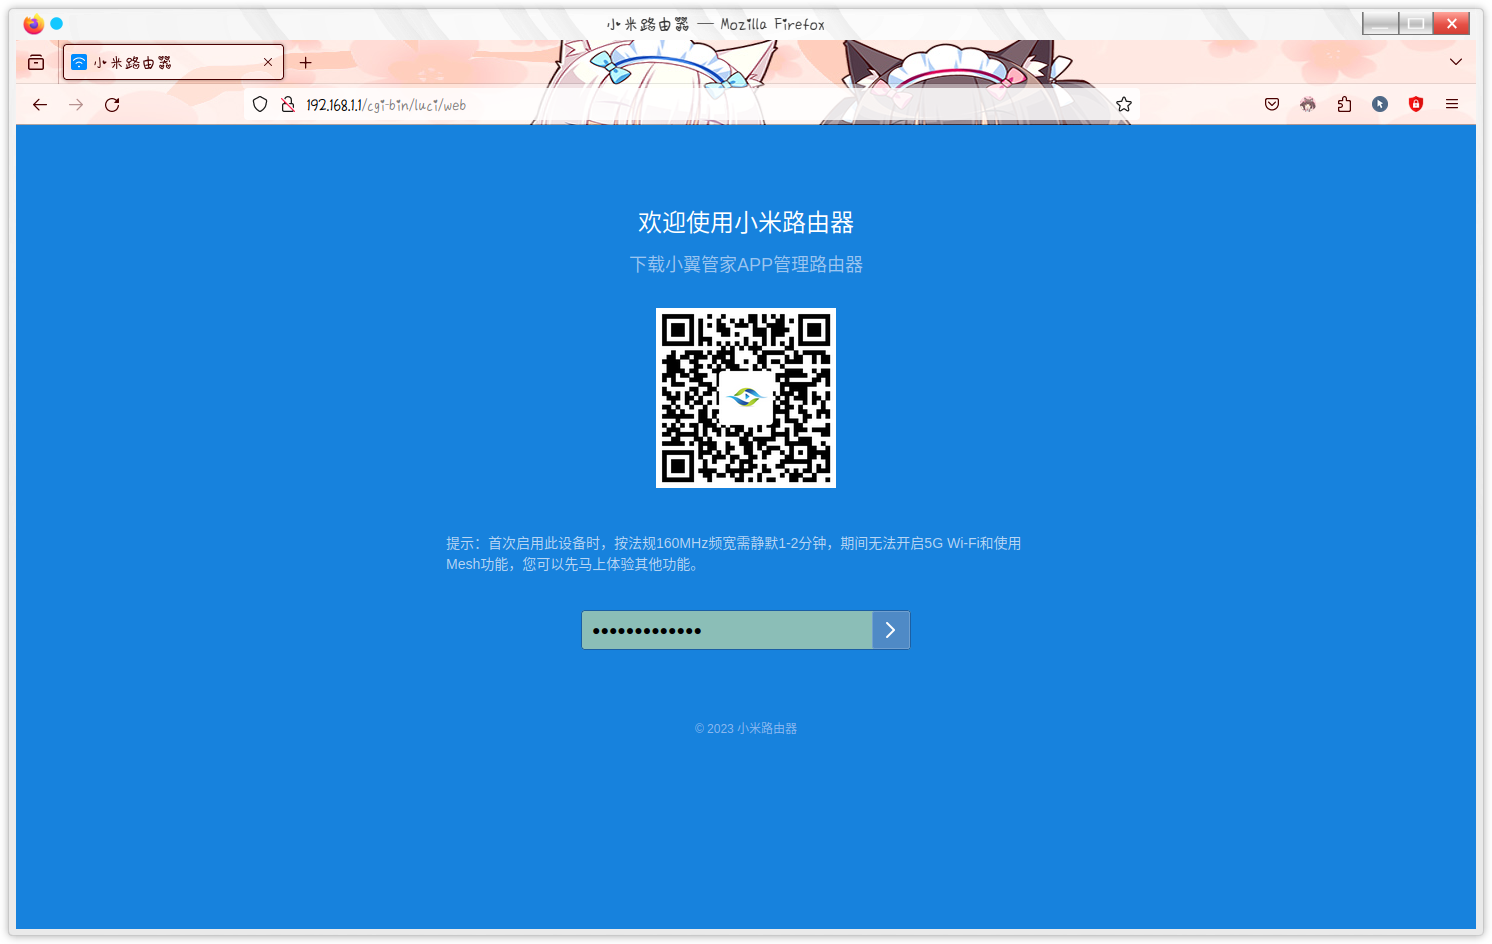

这时候,可以通过find命令寻找相关文件,确定目录
root@Neko-Router:~# find / -name "dx_ewm.png"
/overlay/upper/www/xiaoqiang/web/img/dx_ewm.png
/rom/www/xiaoqiang/web/img/dx_ewm.png
/www/xiaoqiang/web/img/dx_ewm.png
这样就可以看到相关文件在路由器里面的位置了,并且该目录下的结构与网页的是一致的。
一般来说是/www目录下的文件。
然后将/www目录下载到本地电脑进行修改
scp -r -oHostKeyAlgorithms=+ssh-rsa -O config.yaml ax6:/etc/test/config.yaml root@192.168.1.1:/www ./ 修改的方法就是把对应的图标替换就行了
图像一般是位于/www/xiaoqiang/web/img/
这里我比较推荐的做法是把登陆界面的那个巨丑的二维码换成你想要的图标,需要png透明背景格式的。
还有管理界面的图标,位于/www/favicon.ico,都是改成相同名称替换就行,没什么难度。
替换完成后,先在路由器端删除对应的文件:
rm /www/favicon.ico
rm /www/xiaoqiang/web/img/dx_ewm.png
然后在本地用scp上传修改后的图案:
scp -r -oHostKeyAlgorithms=+ssh-rsa -O config.yaml ax6:/etc/test/config.yaml ./dx_ewm.png root@192.168.1.1:/www/xiaoqiang/web/img/
scp -r -oHostKeyAlgorithms=+ssh-rsa -O config.yaml ax6:/etc/test/config.yaml ./favicon.ico root@192.168.1.1:/www
刷新后即可看到结果。
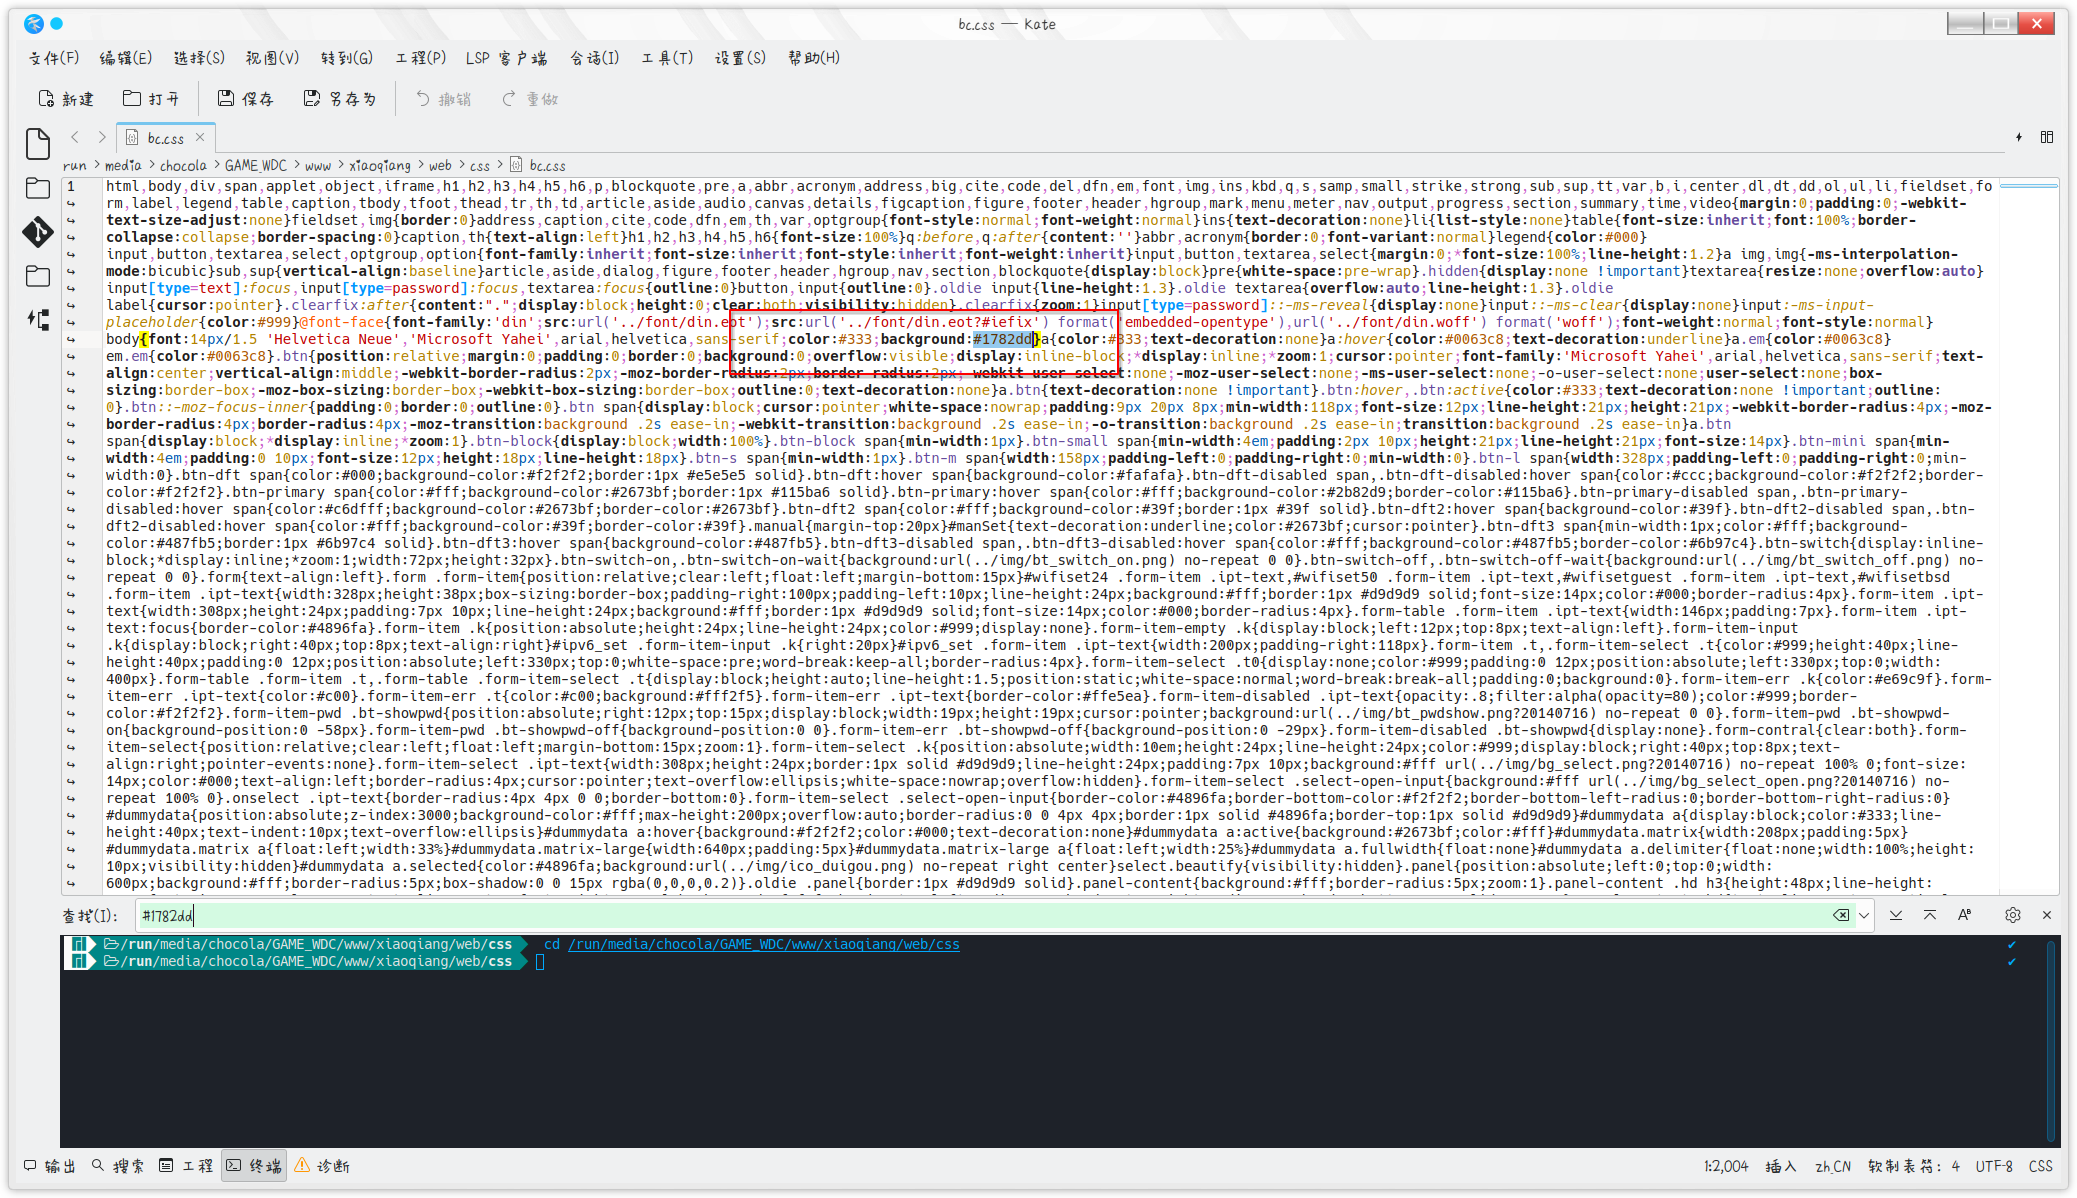
不过,我感觉纯蓝色背景有点丑,于是乎我想换个背景图,右键空白处,检查,查看源代码,可以发现背景是颜色填充的,并且找到了html的颜色代码:
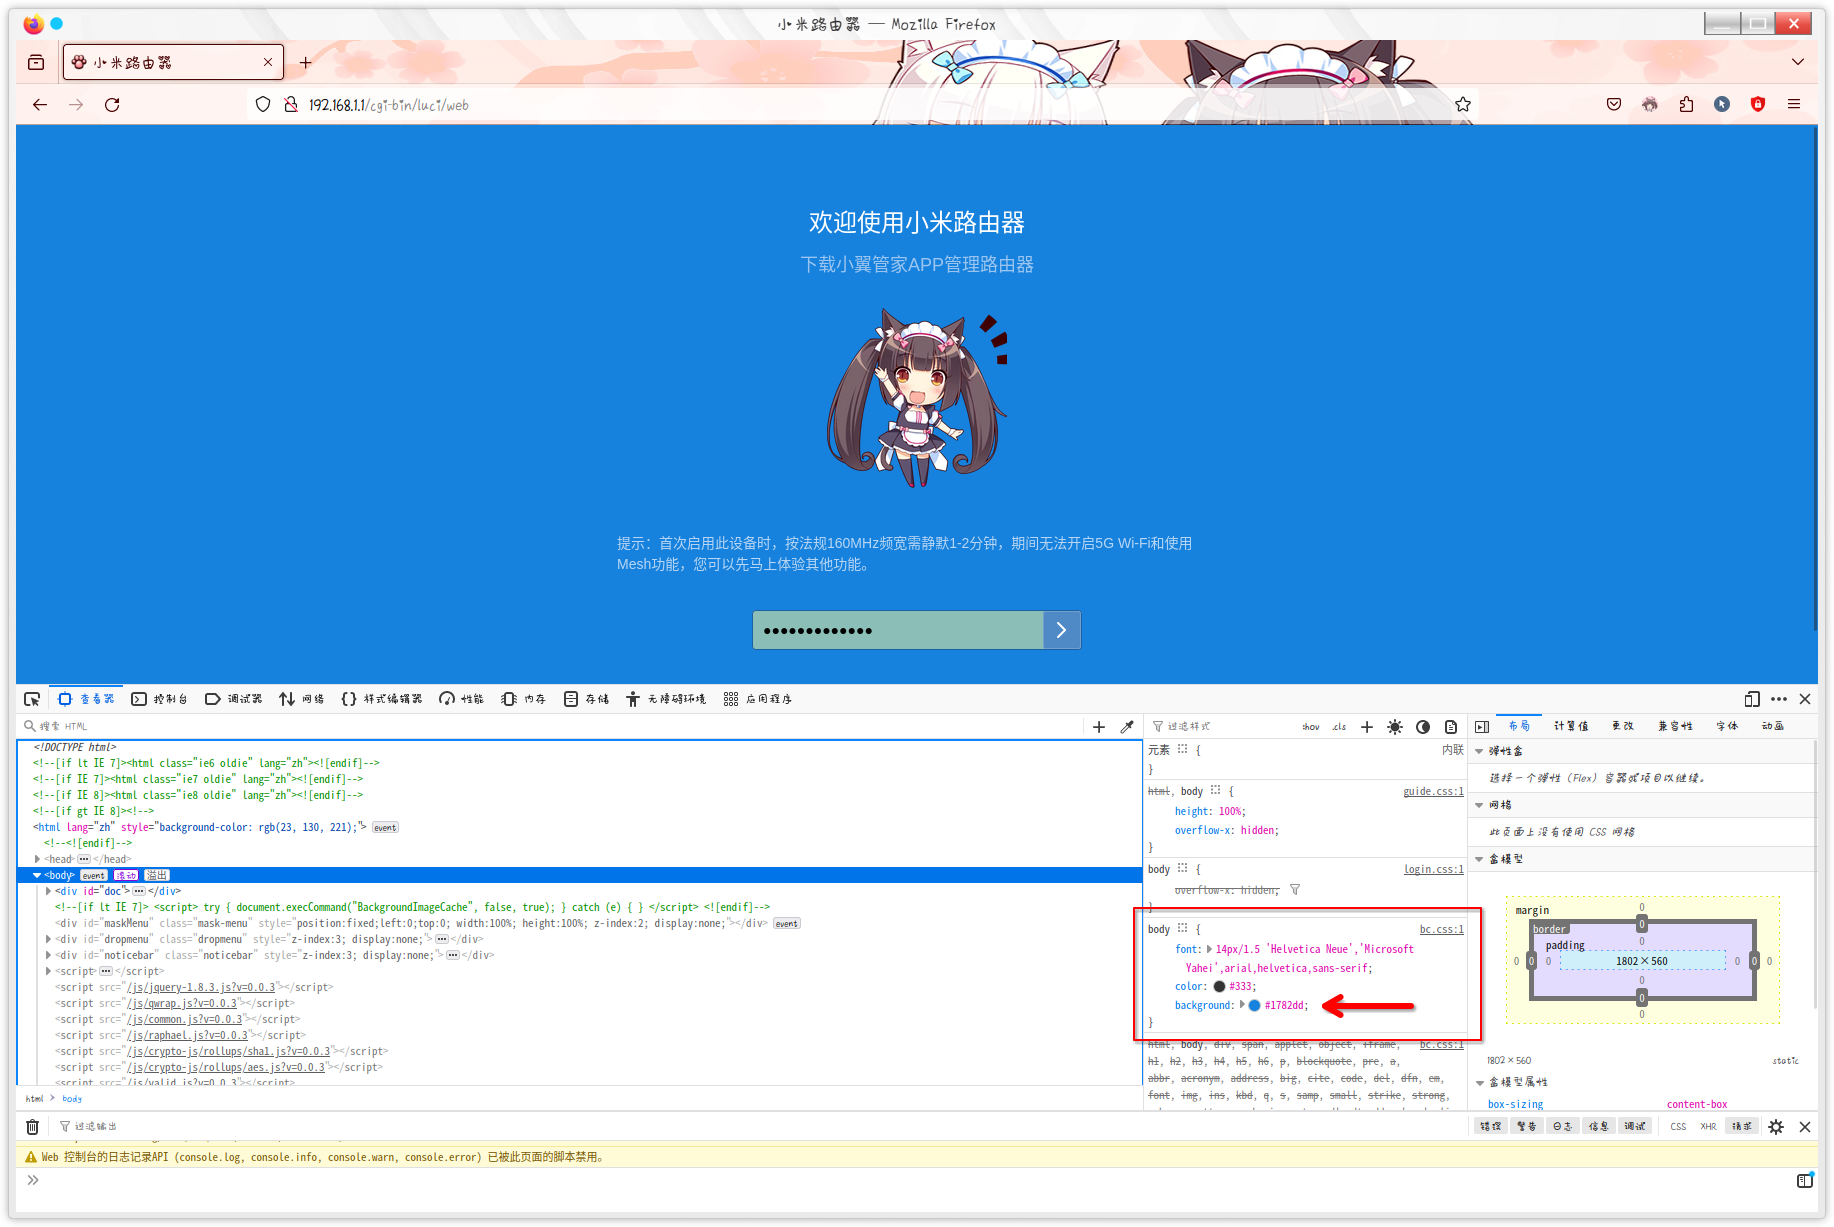
根据代码,搜索文件的内容:
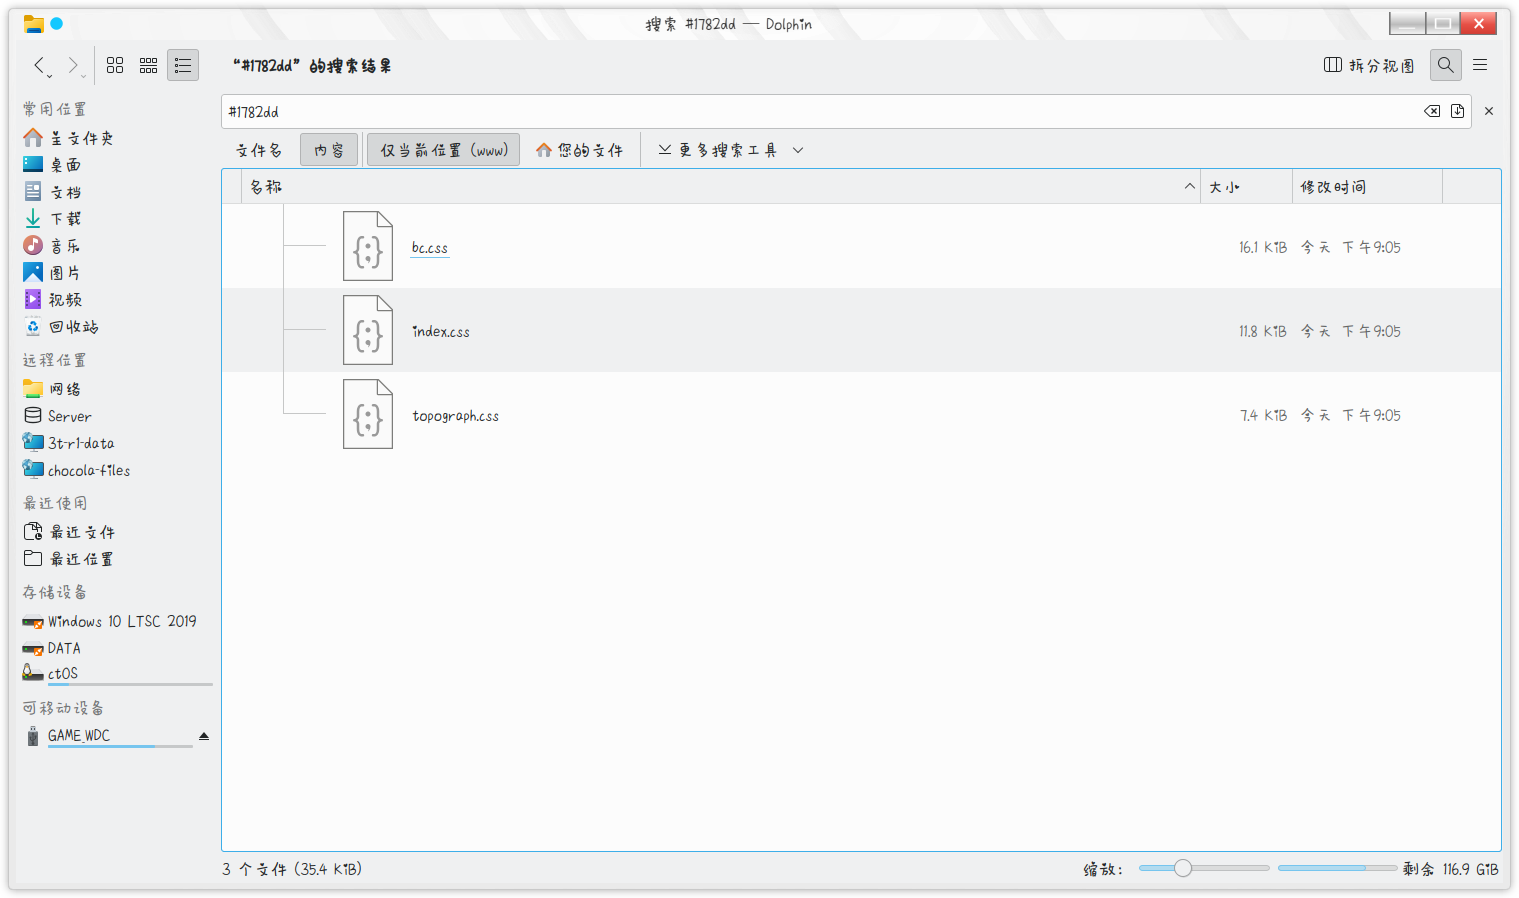
分别查看文件内容,发现bc.css与实际的网页内容一致:
将纯色背景替换成图片背景,文件路径参照其他资源文件引用的方法进行设置:
background-image: url('../img/background.jpg');
        background-repeat: no-repeat;
    background-attachment: fixed;
    background-position: center center;
     background-attachment: fixed;
      background-size: cover;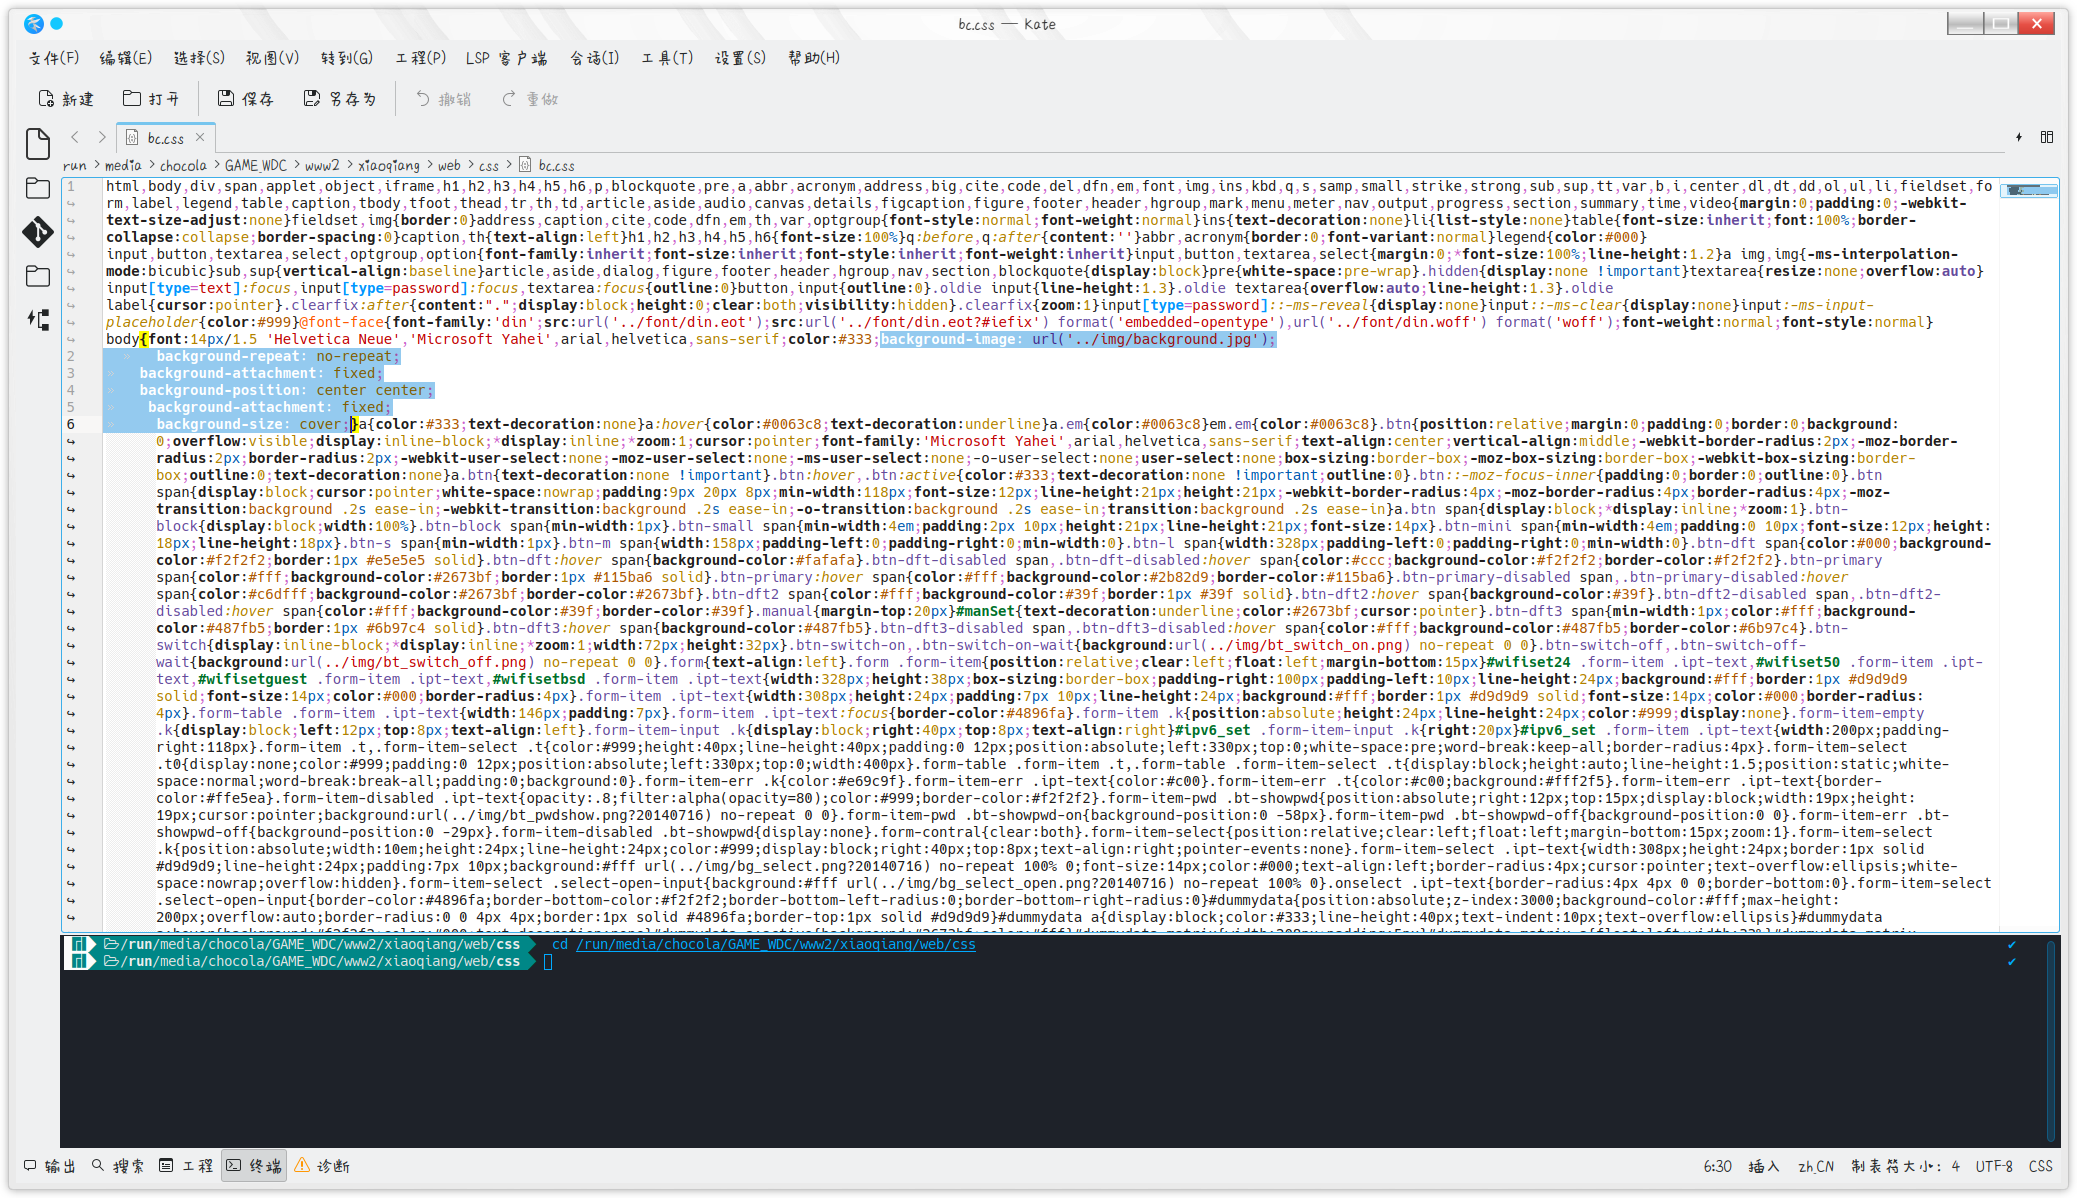
在路由器端删除这个css文件:
rm /www/xiaoqiang/web/css/bc.css然后上传修改后的css和图像文件:
scp -r -oHostKeyAlgorithms=+ssh-rsa -O config.yaml ax6:/etc/test/config.yaml ./bc.css root@192.168.1.1:/www/xiaoqiang/web/css
scp -r -oHostKeyAlgorithms=+ssh-rsa -O config.yaml ax6:/etc/test/config.yaml ./background.jpg root@192.168.1.1:/www/xiaoqiang/web/img/
至此,个性化完成了。
